One of the best ways to play video games, in my opinion, is PC game streaming from your home desktop. If you’ve got a desktop you use for all your Steam games, you’ve put a lot of money into it, and it can run basically every game at high frame rates, high settings, and high resolutions—you can take that exact experience and make it mobile. There’s a very easy way to do it. I do it all the time. It’s not hard to set up—pretty much a one-and-done, plug-and-play situation.
All you need is a capable device that gives you the best experience in a mobile setting—either an iPad or a Galaxy tablet. I’ll go over the best ones and the differences between those two. Add a GameSir controller extension that attaches to the tablet, install the Sunshine client on your PC, and use the Moonlight client on your handheld of choice. That’s the whole stack.
Bonus points if you set up another router between your main router and your desktop PC, with that router dedicated to your handheld gaming device. That gives you the best, lowest-latency, most stable connection back to your desktop PC. Here’s why that matters: stable Wi-Fi is everything for smooth game streaming.
If you buy a handheld gaming PC, a Nintendo Switch, or any console like that, you won’t be able to play anywhere near the settings or visual quality you get on your desktop PC. This lets you keep your desktop’s high-end performance and just stream it to a lighter, more comfortable device.
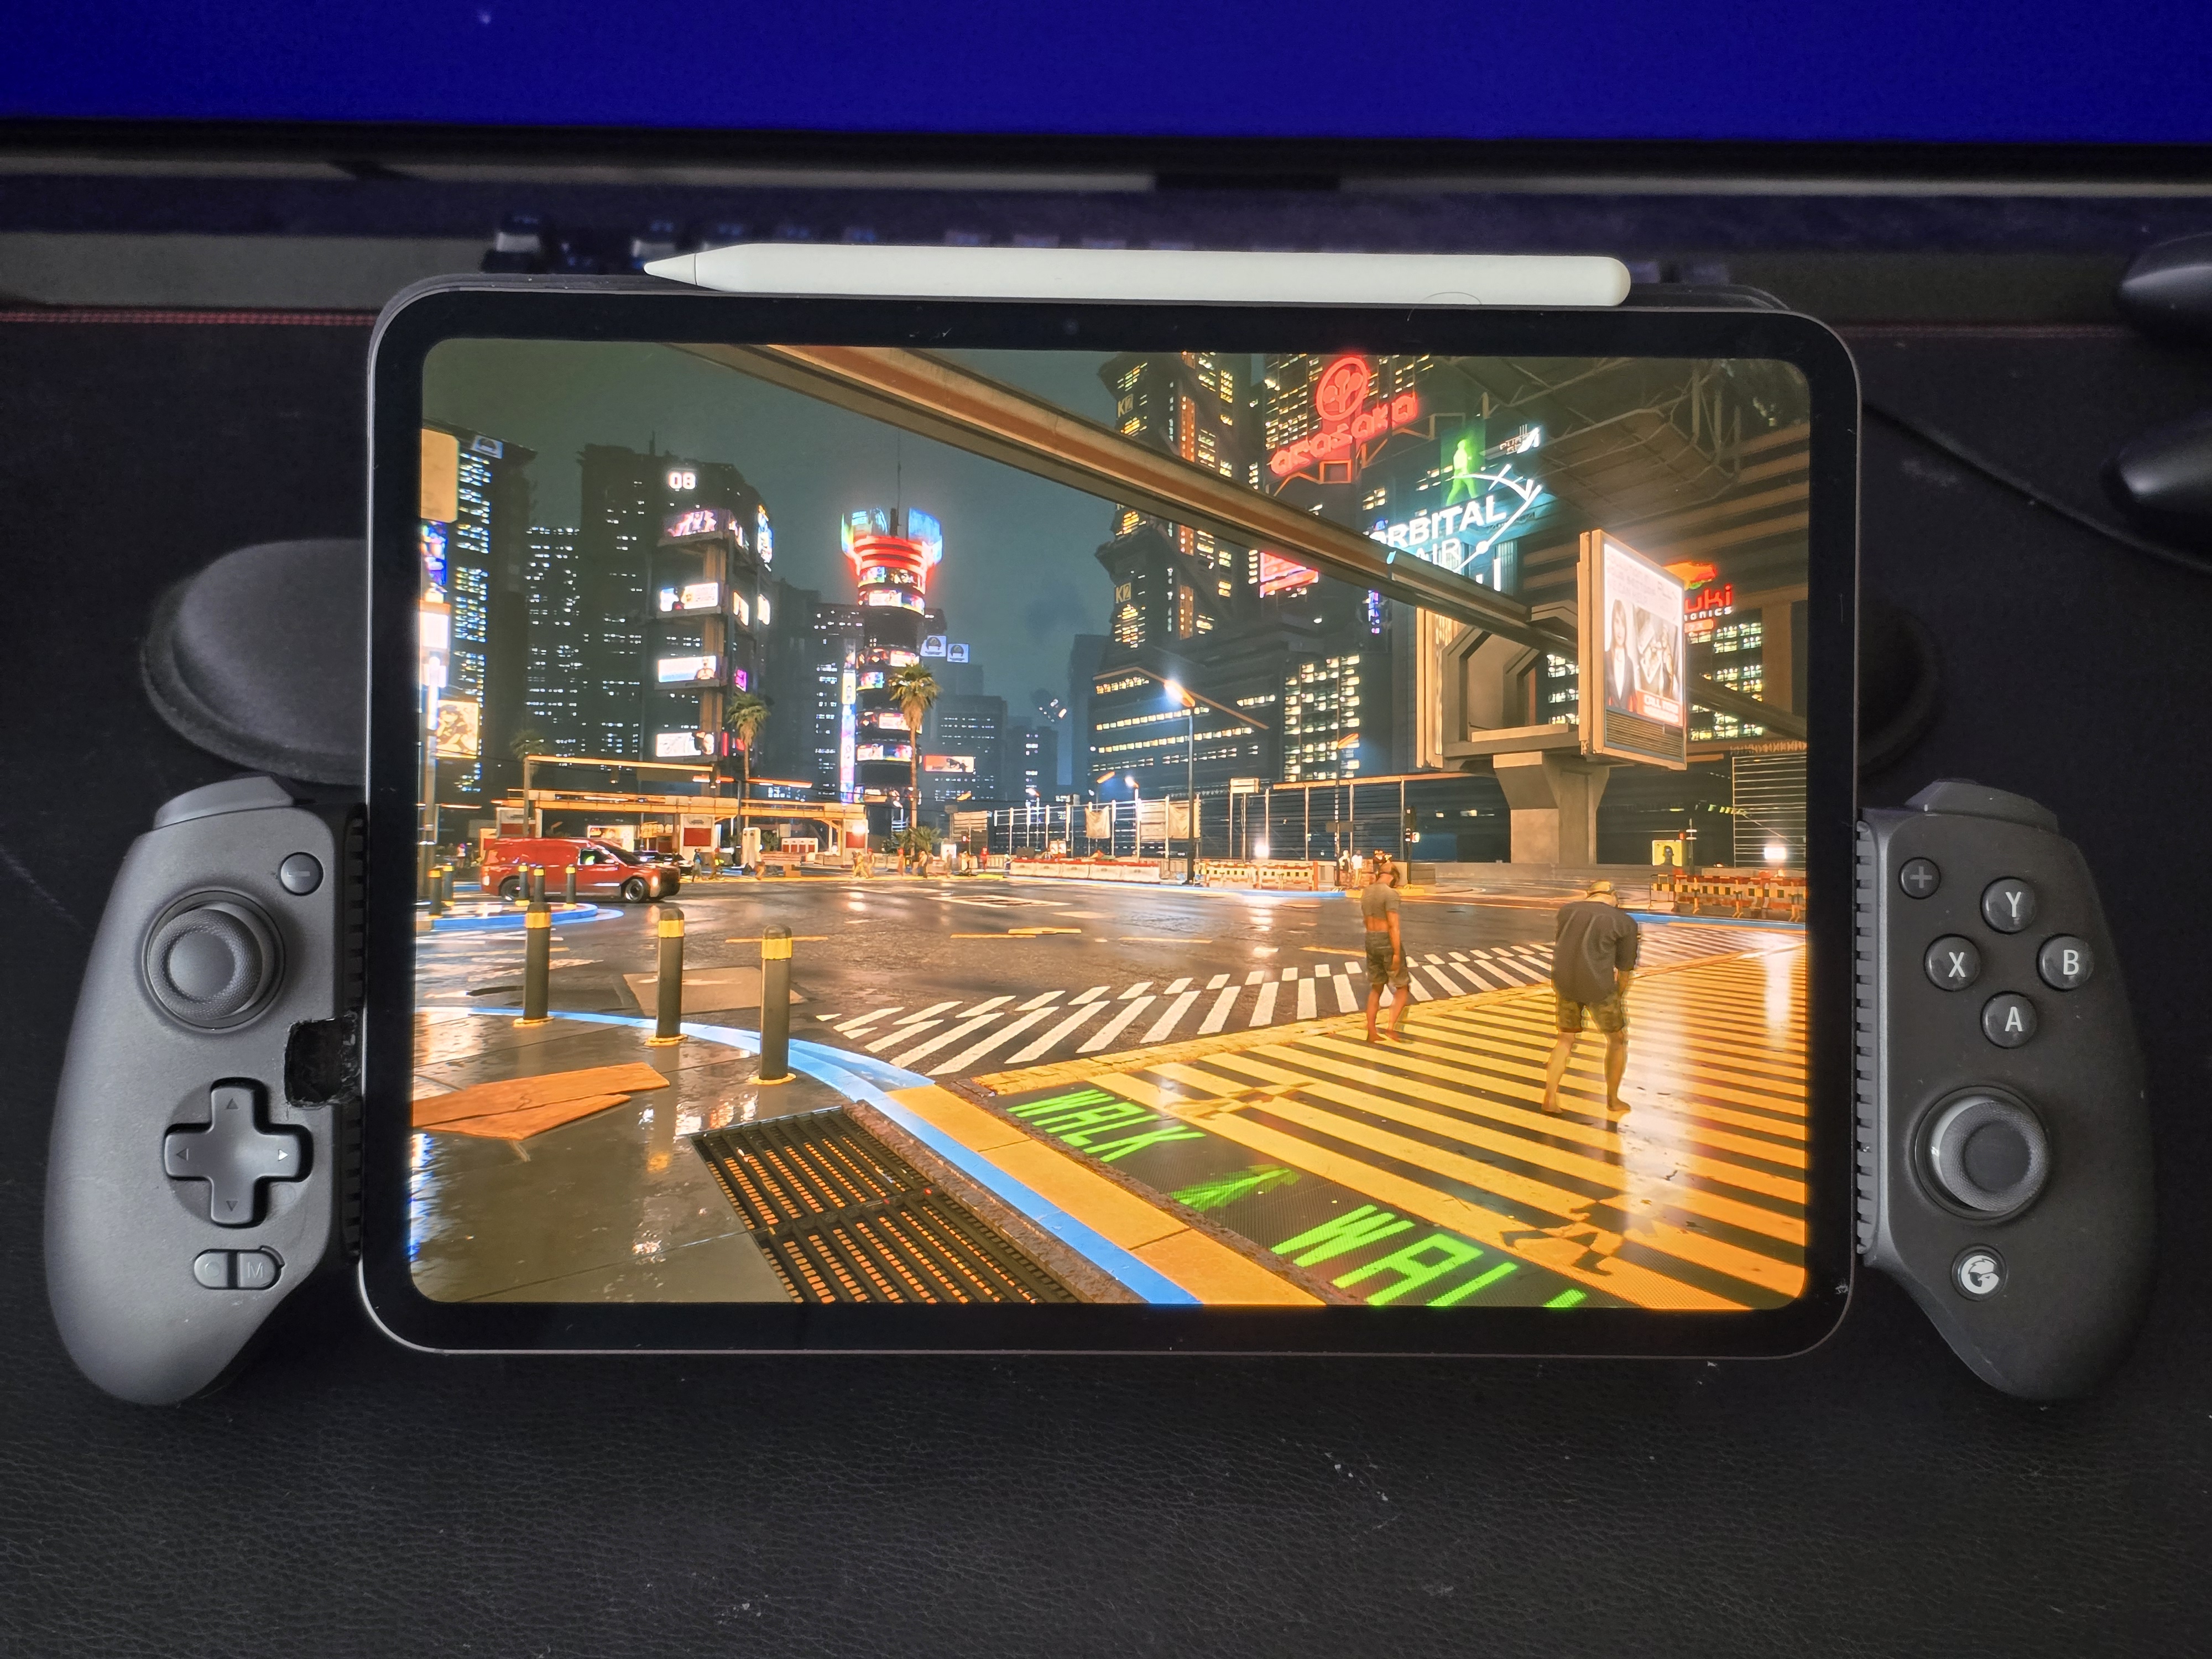
When I play Cyberpunk, I use ultra path tracing and extra mods to push the graphics even higher. I play at 4K with 120 Hz. Doing that on a gaming handheld is absolutely impossible. Even with the most powerful gaming laptop on the market, it would be difficult—and extremely expensive.
There’s a more budget-friendly way to get that desktop-class experience without stacking up devices and extra equipment. This is my favorite way, it’s the cheapest way, and it’s the best way.
What you’re going to want to do is choose the iPad or the tablet that’s going to work best for you. There are two options here, and two sizes within those options. In the 11-inch category you’ve got the iPad Pro (M4) with a tandem OLED display, or the Galaxy Tab S11, which can hit the same brightness levels as the iPad. They both do 1,000 nits sustained full-screen brightness and 1,600 nits peak brightness, which is an OLED experience that rivals the best TVs on the market. You’d pay thousands of dollars for that kind of panel in a TV, but you can get it in a tablet for a fraction of the cost.
A big difference between these two is the aspect ratio. On the Tab S11 you’re playing in 16:10, whereas on the 11-inch iPad Pro you’re playing in 3:4. The iPad has about a 6% larger overall screen area. That extra height on the iPad versus the extra width on the Galaxy is the trade-off. It depends on what you prefer. Even though I use an Android phone, I prefer the iPad Pro as my gaming tablet because that extra height gives me a little more immersion than the extra width does.
The software on iPad versus Android is basically the same—they both run the Moonlight client. On iPad, there are a couple of Moonlight options in the App Store; one of them lets you:
On Android, you use the Apollo Moonlight client. It adds extra settings beyond the standard Moonlight app and also lets you game at 500+ Mbps with HDR and 120 Hz. They’re very similar. I’ve played on both extensively and the user experience is basically the same. Android gives you more options; iPad is just a little easier to navigate.
If you don’t want the 11-inch screen, the next step up is the 13-inch iPad Pro or the 14.6-inch Galaxy Tab S11 Ultra. Both have excellent displays, and the actual display quality is basically the same in my experience. The 13-inch iPad uses a 3:2 aspect ratio, while the S11 Ultra is 16:10, and the Ultra’s screen is significantly larger than the 13-inch iPad. It comes down to what you want to hold in your hands.
Personally, I think 14.6 inches is a little too big to use handheld—especially that close. The 13-inch iPad ends up being the best middle ground: a larger screen that’s still manageable to hold with a controller grip (the one that comes with the controller). I personally use the 13-inch iPad Pro for my game streaming and it’s an absolutely amazing experience.
Between these two devices, the speaker quality is pretty much the same. The Galaxy Tab S11 series does get louder than the iPad Pro, but the overall quality is similar. If you’re playing mobile games, I’d say iPad is the best option, with Android a very, very close second—if not basically equal.
If you want to run emulation—say you have Nintendo Switch titles you can port down or other systems you want to emulate—Android is the better choice. You can use those clients and emulator apps on Android, whereas on iPad those don’t exist yet.
Another big positive for Android: there are multiple apps coming out this year that, through a translation layer or emulation, let you play your Steam games by emulating Windows. That’s a huge plus for the Tab S11 Android setup. The catch right now is those apps run very well on Snapdragon processors, and the new Tab S11 series runs on MediaTek, not Snapdragon. Optimization for those apps isn’t fully there yet, so it’s a little more difficult to play Windows games on the newest S11 hardware. Over time they’ll get better, and you can always choose a previous-generation Galaxy Tab with a Snapdragon chip—but going back a generation means you won’t get the newest screen quality you get with this latest version.
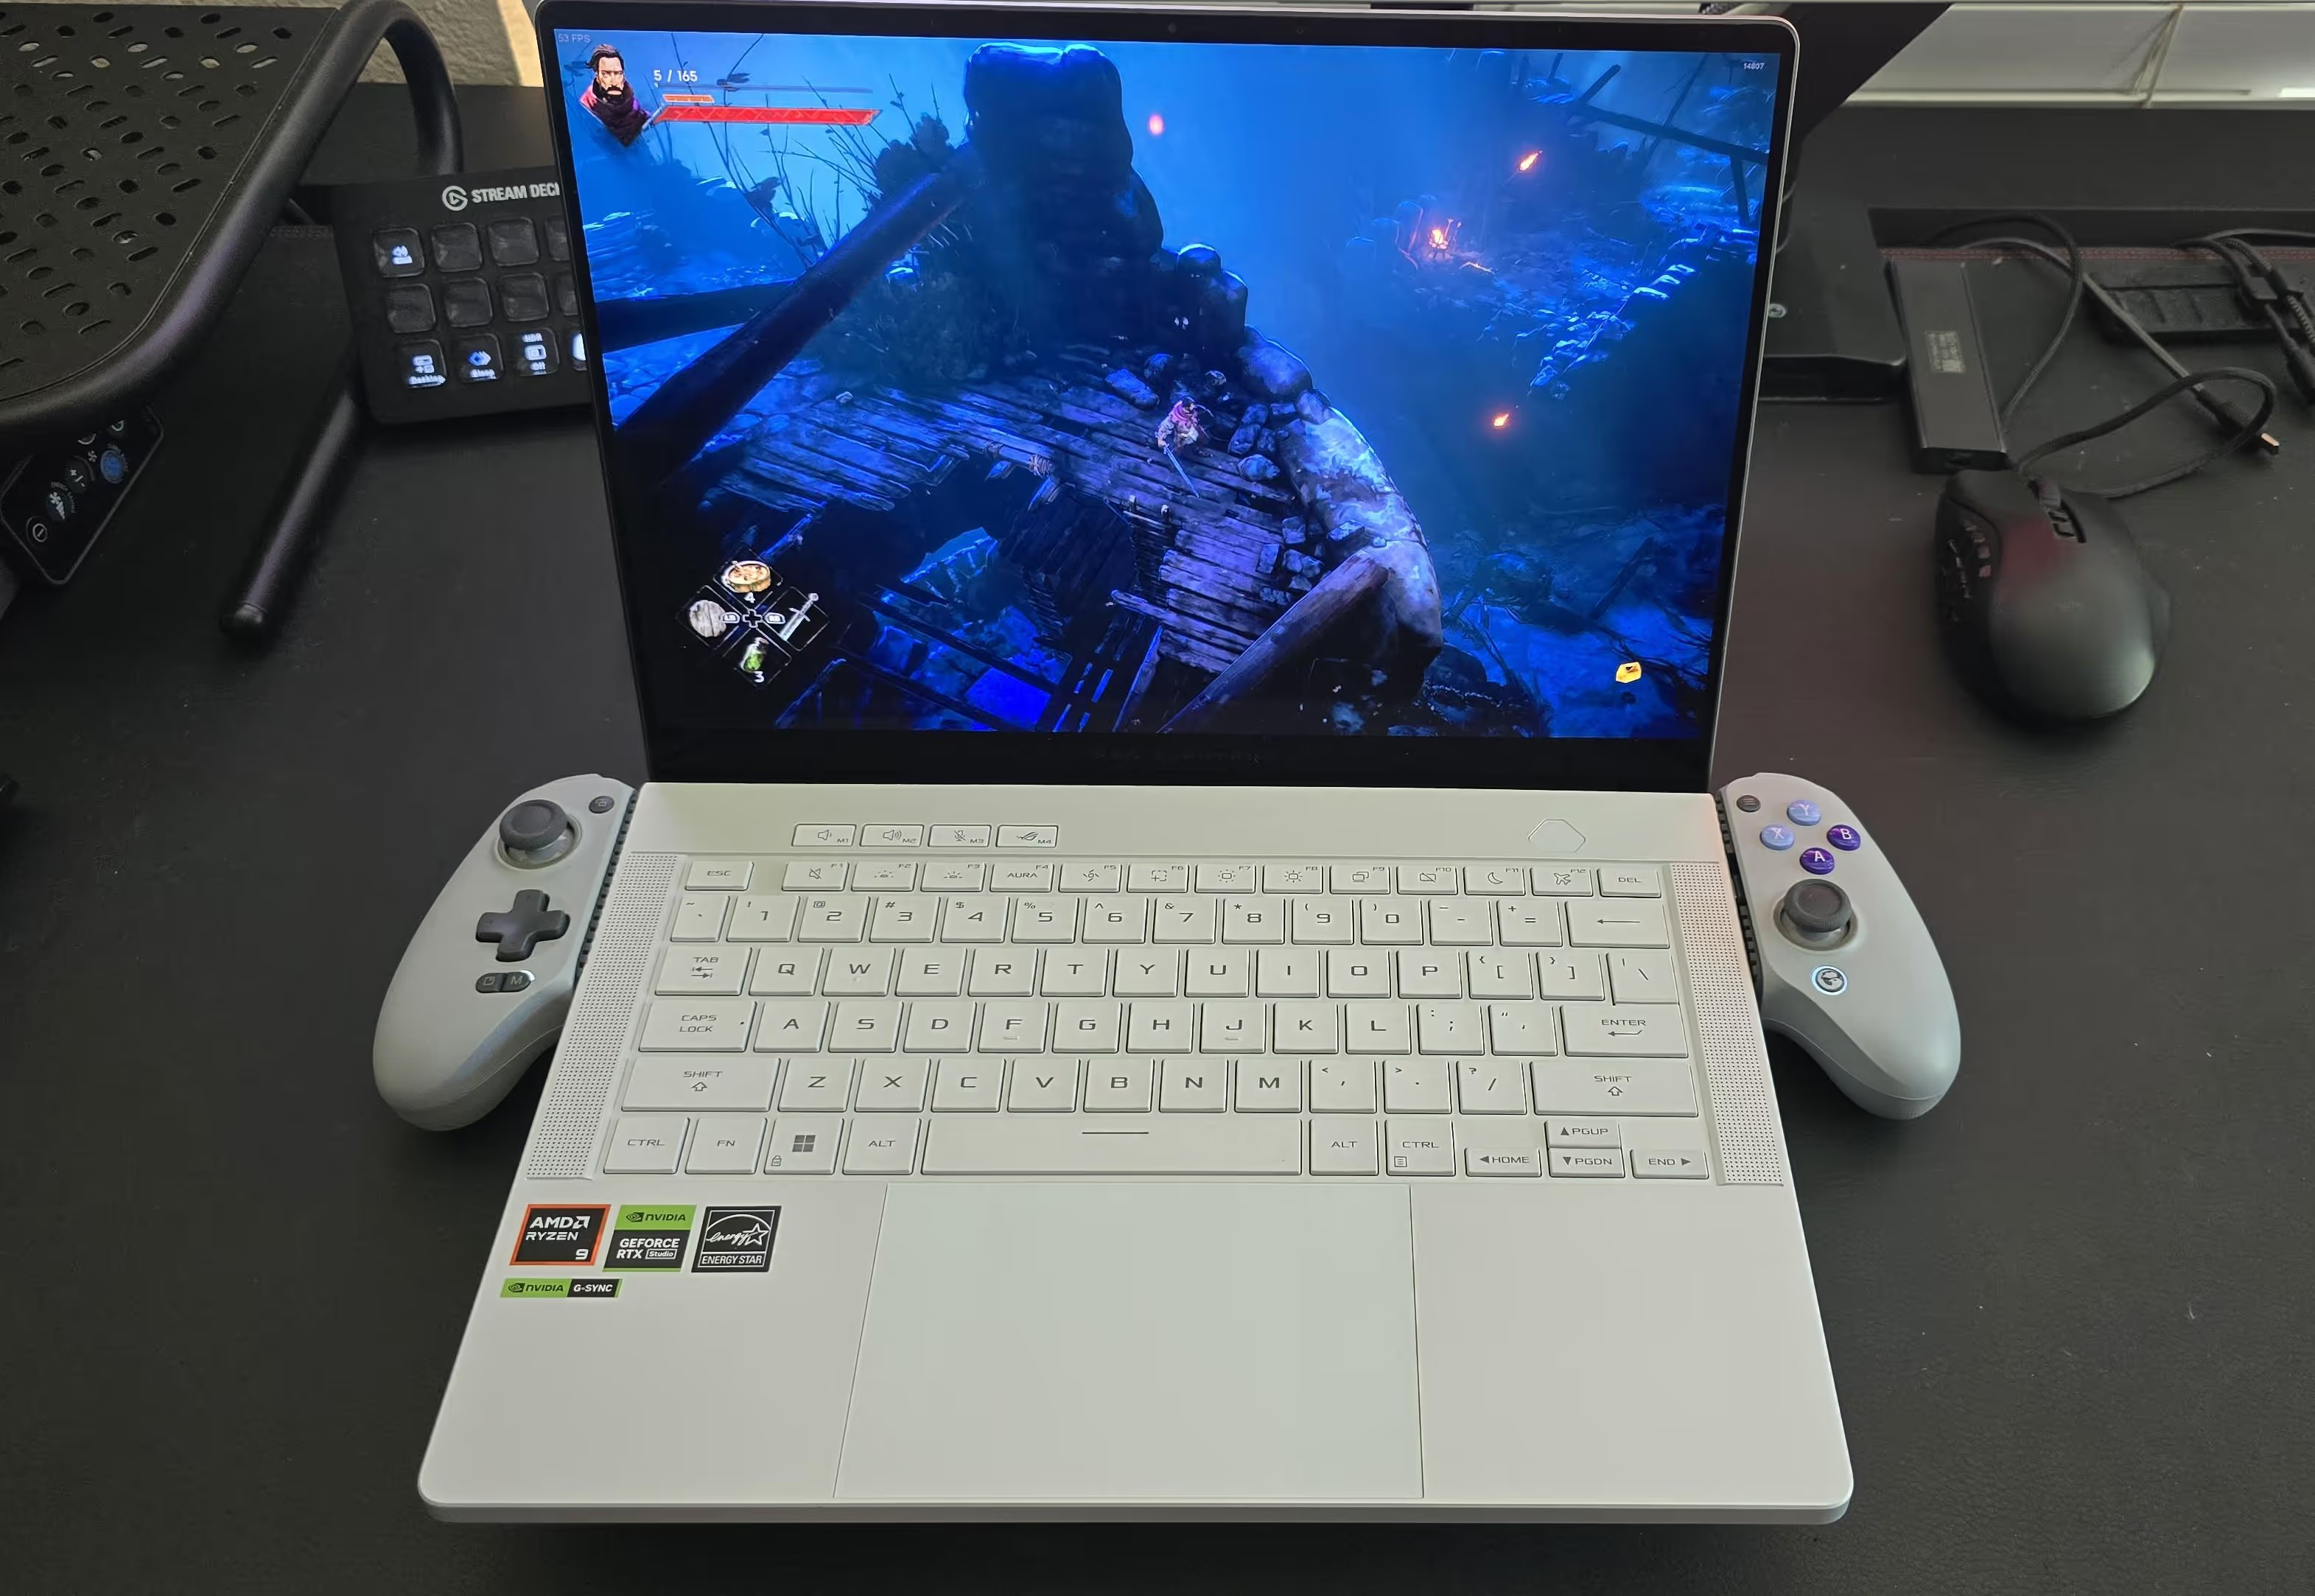
What’s going to make this whole thing possible—and tie it all together—is the GameSir G8 Plus extension controller. No matter what size tablet you go with, it works really well. Just extend the controller to fit 11-inch, 13-inch, or 14.6-inch tablets and it locks in cleanly. Then you can hold it handheld—like a Nintendo Switch or a Steam Deck—and you get that full handheld experience.
The controller itself brings what you want for game streaming and handheld play: haptics, back buttons and paddles that are mappable, Hall effect joysticks, a solid D-pad, and analog Hall effect triggers. It’s just a great device all around.
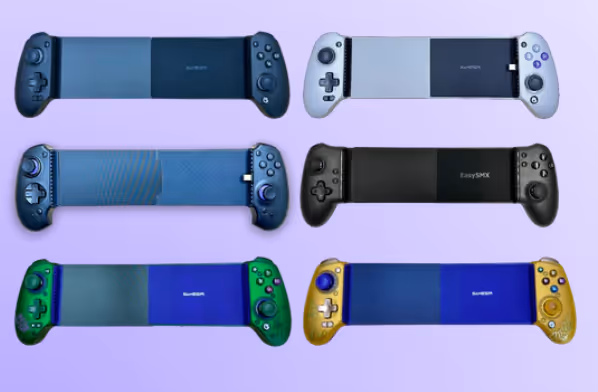
RRTronics makes an extension mod that lets you use the G8 Plus with devices larger than it was originally designed for. They did an amazing job with it. I have two of these extension controllers and I love them—both work great.
You’ve got two variants to pick from:
That choice is up to you and what matters most in your setup.
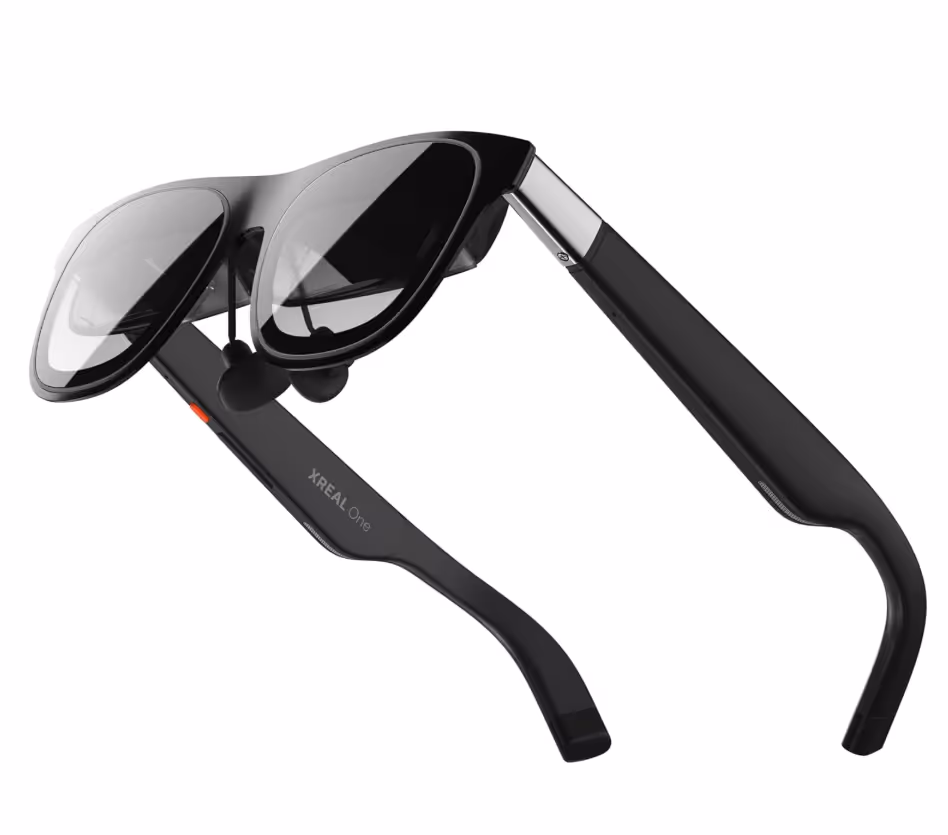
The next accessory is a heads-up home theater OLED device if you’d rather not game on the tablet itself. In this setup, you can pretty much use whatever device you want to stream your games. You plug in these glasses—rated as a 147-inch screen at about 10 feet—and they use micro-OLED panels with a 120 Hz refresh rate.
The new versions, the Xreal One Edition, let you lock the screen in place so as you move your head, the image stays where you set it instead of following your vision. That’s a great addition because the previous ones didn’t have this and could make you feel a little nauseous or uncomfortable when the screen moved with you. These new ones are more comfortable for longer sessions, they’re a little brighter, and they add a couple of extra features. I’ll link them down below if you want to check them out.
The nice thing here is you can just use your phone and keep a controller off to the side. No matter where you are in the house, you can stream from your desktop PC to your phone, connect the controller, and play at the highest settings your desktop can handle—wherever you’re at in your home, which is awesome.
The next accessory is optional—it’s definitely not required. I sometimes use it and sometimes don’t, but when I do, there’s a noticeable difference. The idea is to add one extra router between your main home router and your desktop PC.
Here’s how simple it is: take your home router (say you’ve got an Xfinity router), run an Ethernet (internet) cable to a second router, then run another Ethernet cable from that second router to your desktop PC. In the settings for the middle router, switch it to Access Point (AP) mode instead of router mode. Now it’s on the same Wi-Fi and the same service as your main router, but it’s used purely as an additional access point—basically extending the Wi-Fi range for the device you choose to connect.
The key move is to only connect the device you’re streaming on to that access point. That way, all of that AP’s bandwidth and processing is dedicated to your device. You’ll see better streaming quality and lower latency. This is what I do, and it’s very, very effective. Again, it’s optional—if you don’t have a lot of devices on your main router, or not many people are using it at once, it may not matter. But if your house is busy and everyone’s on the network, this can be the difference between usable and not usable. For me, it depends on the use case, but having a second router in AP mode is great insurance for the best PC game streaming quality.
One more note: streaming doesn’t use your internet data in this setup—it’s all local. You don’t even need an active internet connection at home. As long as the access point is connected to your PC, you just connect your phone or tablet to that Wi-Fi, and your PC and device talk to each other locally. No internet required.

The software you’re going to need is the Sunshine client on your PC and the Moonlight client on your handheld. I use the Artemis version of Sunshine (I’ll link it below) because it gives you extra, granular control over privacy and security for connected devices. It also lets a connecting device attach as a virtual display, so you don’t need a monitor powered on at all times. Sunshine (Artemis) will auto-create that display and you can set any resolution and any refresh rate, which is super handy for PC game streaming.
If you’re on Android, you can pair Sunshine (Artemis) with the Apollo Moonlight client (Github APK Download) or you can use the Moonlight Client on the App Store (App Store client cannot do 500mbs bitrate). These two work really well together and many people report slightly better performance. I haven’t noticed that myself—and I haven’t specifically tested that part—but I do find the combo stable, with great performance and way more settings (honestly, four or five times more) than the standard Sunshine + Moonlight setup.
If you’re on iPad, it’s the same on the PC side (Sunshine Artemis). On iPad, go to the App Store, search Moonlight, and install the Moonlight Game Streaming client.
Set up the Sunshine client on your desktop PC. It’s very simple: create an account with a login and password so not everyone can access it, install, and it basically configures itself. I’ll link a how-to video below (by NordVPN, a source I trust) that walks through the process.
On your tablet or iPad, launch Moonlight. If the PC and your device are on the same local Wi-Fi, Moonlight will automatically discover your desktop. Request access from the tablet/phone. On your desktop PC, you’ll see a prompt to enter the PIN that your tablet generates—pair them to connect. It’s an extra security step so you don’t get unwanted devices connecting.
On your tablet, open Moonlight settings:
If multiple people are on your Wi-Fi and you want a more stable connection, let Moonlight auto-recommend a bitrate based on your chosen resolution/refresh rate. You might see a little compression, but it’s not bad and won’t ruin the game. You can also go lower if you need to.
You can open this up to play over the internet, which means you can be anywhere and still connect back to your desktop. I’ve done this from Mexico to my desktop in the northern United States—very cool. Latency can be an issue sometimes (it wasn’t always), but it works. I’ve even used mobile data in the car and played Ghost of Tsushima on my break at work.
That’s the whole flow. I’ll link the apps and the setup video below so you can see exactly how it all comes together.